

If you haven’t noticed recently, Facebook is all about videos: cat videos, Buzzfeed videos, live videos, you name it. Facebook wants to grow into a video-oriented platform, so they’re adjusting the algorithm to favor video content, especially Facebook Live posts. You might have noticed that Facebook sends you a notification when businesses and friends go live.
While produced videos con time and resources, the Facebook Live feature is free and requires little or no work before and after recording. Plus live videos receive fantastic organic reach.
If you’re ready to jump in but don’t know where to start, don’t fear. I’ve done this before, and I’m going to share with you the different features of the live video and some tips I’ve learned from first-hand experience. Grab your phone. Get ready to learn some tips. Go live.
Before You Record
Choose a Topic
Unless you’re covering a live event, you need to have structure to your video. If you’re doing an FAQ or Q&A, you should have a script or an outline, and if you’re not comfortable in front of the camera, do several walk-throughs.
Promote Your Video Beforehand
It’s always a good idea to let your audience know beforehand that you’re going to broadcast a live video. This will allow them to know when you’ll be publishing, and it gives them time to ask any questions they want you to answer. It’s even better if you go live during a set time and day each week or each month so that you can grow a following.
Setting Up
A good goal for the length of your videos should be 5-10 minutes, which is long enough to provide enough information but not too long to lose your viewers’ interest. Make sure you’re in an area that has a strong wifi connection, good lighting, and minimal background noise. It’s also best if you place your phone on something stable instead of you or someone else holding it, which would make it shaky.
Getting Started
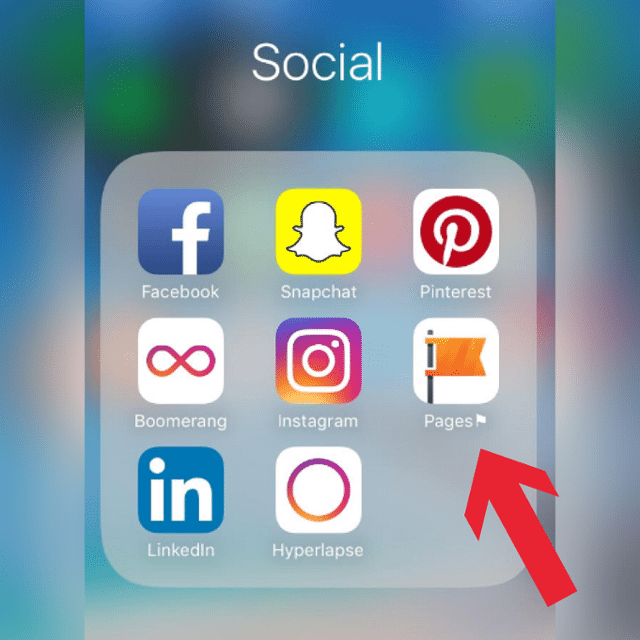
Make sure you have the Facebook Business Pages app downloaded on your phone.
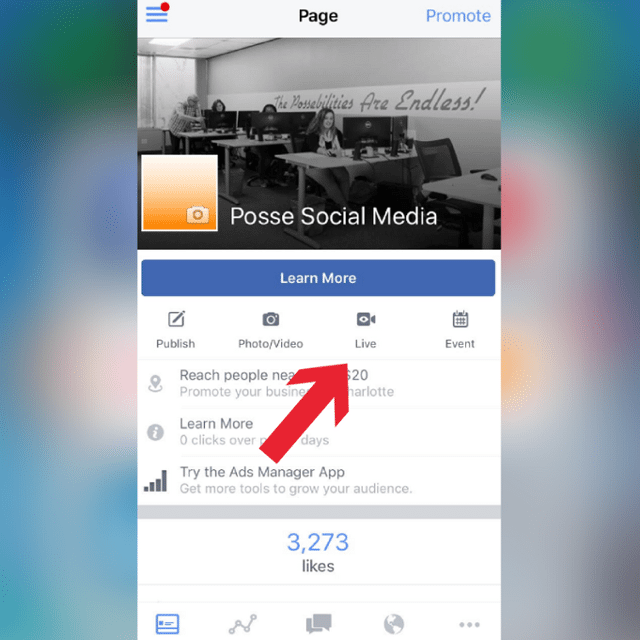
 Once you’ve downloaded it, go to your page. To go live, click the “Live” button underneath your cover photo.
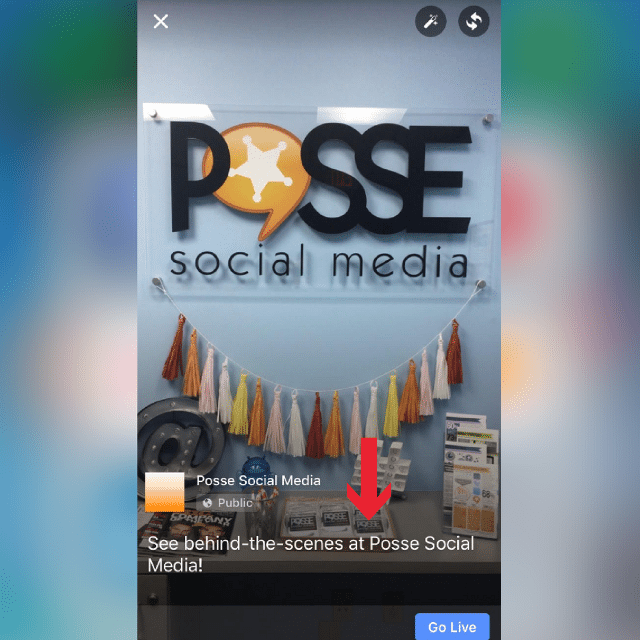
A screen will appear, prompting you to write a description of the video. In the description, you need to be informative of what you’re going to be live-streaming. Will it be a Q&A with one of your employees? Live coverage of a certain event? Tell your audience so that they’ll want to stop scrolling and watch your video.
Features
There are several options for features that are located at the bottom of the screen, including filters, a drawing pen, and face lenses.
The black and white filter is great if you set a tone for a live video series, especially if you’re in an environment with a lot in the background. You can use the pen to circle certain things, and you can always undo the writing while you’re recording. Be mindful if you’re drawing something, it is going to shake the camera. As far as the face lenses go, that’s probably best left for your personal live videos.
Going Live
This is the easy part! You’ve put in the work, and now it’s time to hit record. Let your personality show, don’t speak too quickly, and don’t be nervous! If people are watching, it means they’re interested in what you have to say; if they weren’t interested, they would keep on scrolling.
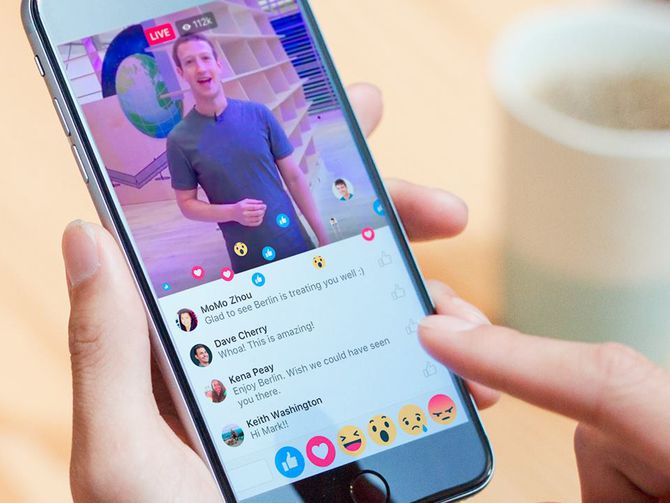 While you’re recording, people’s reactions (likes, loves, hahas, etc.) will pop up across the screen. You’ll also be able to see who’s watching, and comments appear in real time. When the video is posted later on, the comments will appear at the same time during the video that they did live. If you have an interactive video, encourage your viewers to post comments for you to answer during the video.
See how we use Facebook Live videos.
Finishing
To finish recording, let your viewers know that you’re logging off and if you have another live video scheduled. After that, press the “finish” button found on the bottom right corner. Afterwards, it will give you an option to download the video to your phone. Just in case, I suggest saving the video then, but if you skip this step, you can download it later to your desktop.
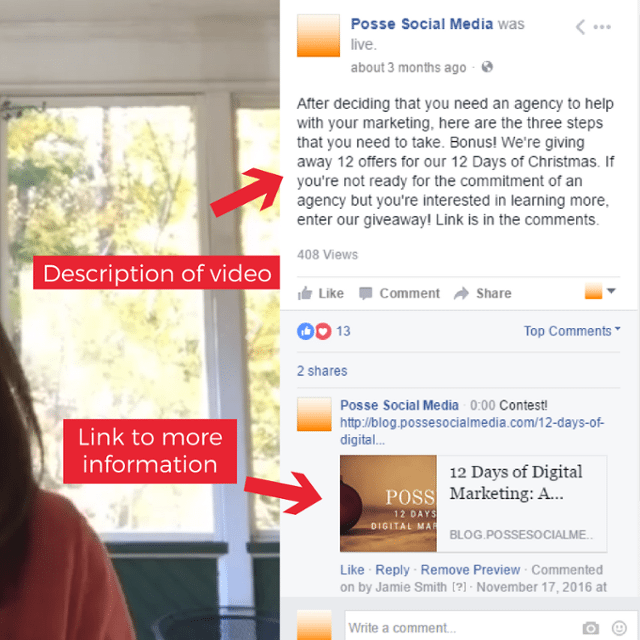 If you discussed any information during the video or would like to send your audience to your website, feel free to add links in the comment section. You also have the option of boosting the post to reach more viewers.
There’s no need to be intimidated by Facebook Live. It’s user-friendly, and every business should be utilizing this feature in some way. To start brainstorming ideas for how you can go live, check out my previous blog about Facebook Live.
Note: Soon, all business pages will be able to go live using a desktop computer, but for right now, only select pages have that feature.